

Cart
0
TL;DR:
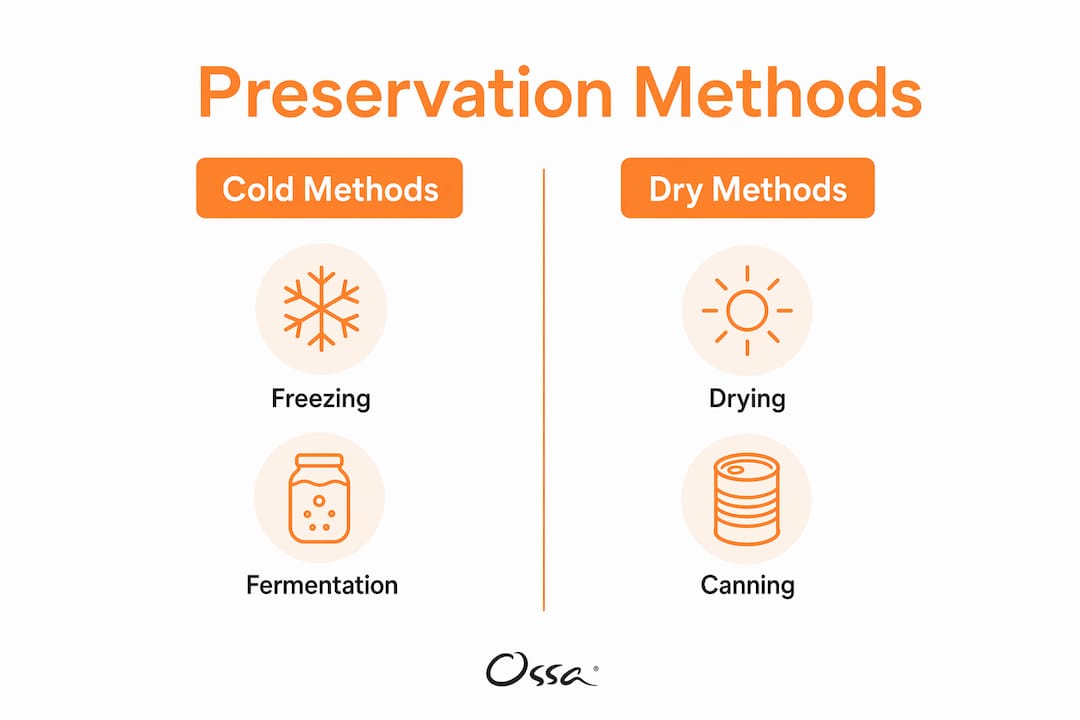
- Preserving organic seasonal produce involves methods like freezing, drying, canning, and fermenting to maintain freshness and nutrients. Proper equipment, such as blanching pots, jars, dehydrators, and vacuum-sealed bags, ensures the best results and safety. Techniques like blanching and flash freezing preserve vegetables effectively, while drying and fermentation enhance flavor and nutritional value for long-term storage.
Preserving organic seasonal produce is defined as extending the freshness, flavour, and nutritional value of organic fruits and vegetables through methods such as freezing, drying, canning, and fermenting. These food preservation techniques let you lock in peak-season quality and cut grocery costs by 30–50% compared to buying commercially preserved goods. The tools you need are straightforward: blanching pots, mason jars, food dehydrators, and freezer-safe containers. Whether you grow your own or buy from a farmers’ market, the methods in this guide apply directly to your kitchen.
What do you need to preserve organic seasonal produce?
The right equipment determines whether your preserved produce lasts weeks or months. Each preservation method calls for specific tools, and using clean, non-toxic equipment is non-negotiable for both safety and quality.
Here is a breakdown of the core tools and the methods they serve:
| Tool | Best Used For |
|---|---|
| Blanching pot with basket | Freezing vegetables; stops enzyme activity before freezing |
| Mason jars (Kilner or Ball) | Water-bath canning, fermentation, and dry storage |
| Food dehydrator (e.g., Excalibur) | Drying herbs, fruits, and vegetables evenly |
| Freezer-safe zip bags or containers | Storing blanched and flash-frozen produce |
| Dissolvable freezer labels | Tracking dates on frozen items without sticky residue |
| Pressure canner | Low-acid vegetables and meats requiring high-heat processing |
| Digital kitchen scales | Accurate measurements for canning recipes and brine ratios |
Cost and space matter for home use. A basic Excalibur dehydrator costs around £150–£200, while a pressure canner from Presto or All American runs £80–£150. Mason jars and Kilner jars are reusable across seasons, making them one of the most cost-effective investments in your preservation kit.
One often-overlooked item is the dissolvable freezer label. These labels stick at freezing temperatures but dissolve cleanly under warm water in 30 seconds, leaving no residue. That means you can reuse containers without scrubbing off old tape or marker. For anyone managing a well-stocked freezer across multiple seasons, this small detail saves real time.
Pro Tip: Buy mason jar lids in bulk at the start of each season. Lids are single-use for canning and must be replaced every year to maintain a proper seal.
How to freeze organic seasonal vegetables effectively
Freezing is the most accessible method for seasonal produce storage at home. Done correctly, it preserves texture, colour, and nutrients for 8–12 months. Done incorrectly, it produces mushy, flavourless results.
The critical first step is blanching. Blanching halts the enzyme activity that causes produce to deteriorate in the freezer. Exact blanching times matter: broccoli requires 3 minutes, green beans 2 minutes, and spinach just 90 seconds. Over-blanching softens the produce before it even reaches the freezer.
Follow these steps for reliable results:
-
Wash and prepare your produce. Cut into uniform pieces for even blanching. Do not wash produce and leave it sitting wet before this step. Excess moisture accelerates mould and bacterial growth significantly.
-
Blanch in boiling water. Use a large pot with a basket insert. Time precisely using the correct blanching duration for each vegetable.
-
Transfer immediately to an ice bath. This stops the cooking process. Leave produce in the ice bath for the same duration as the blanching time.
-
Drain and dry thoroughly. Spread blanched produce on a clean tea towel and pat dry. Freezing wet produce causes ice crystals to form between pieces, leading to clumping.
-
Flash freeze on a baking tray. Spread produce in a single layer on a lined baking sheet and place in the freezer for 1–2 hours. Flash freezing prevents clumping and allows you to portion out exactly what you need later without thawing an entire bag.
-
Transfer to freezer bags or containers. Remove as much air as possible. Label with the contents and date.
-
Store at 0°F (minus 18°C). At this temperature, most vegetables remain at peak quality for 8–12 months.
Some produce freezes well without blanching. Peppers, onions, and most berries can go straight from washing and drying into the freezer. This makes them among the easiest candidates for organic food preservation at home.
Pro Tip: Use dissolvable freezer labels on every bag. Write the vegetable name, blanching date, and use-by month. You will thank yourself in february when you cannot remember whether that bag is last summer’s courgette or this year’s.
Common mistakes include skipping the blanching step entirely, freezing produce while still wet, and overfilling bags so air cannot escape. Each of these shortens shelf life and degrades quality.
What are the best drying methods for organic fruits and herbs?
Drying removes moisture from produce, which prevents mould and extends shelf life without refrigeration. It also concentrates flavour, making dried tomatoes, apricots, and herbs far more intense than their fresh counterparts.
Three methods are available to home cooks:
-
Air drying works best for herbs with low moisture content, such as thyme, rosemary, and oregano. Tie small bunches and hang them upside down in a warm, well-ventilated space away from direct sunlight. Drying takes 1–2 weeks.
-
Oven drying suits fruits and vegetables. Set your oven to its lowest temperature (around 50–70°C) and leave the door slightly ajar to allow moisture to escape. Sliced apples, bananas, and tomatoes dry in 4–8 hours depending on thickness.
-
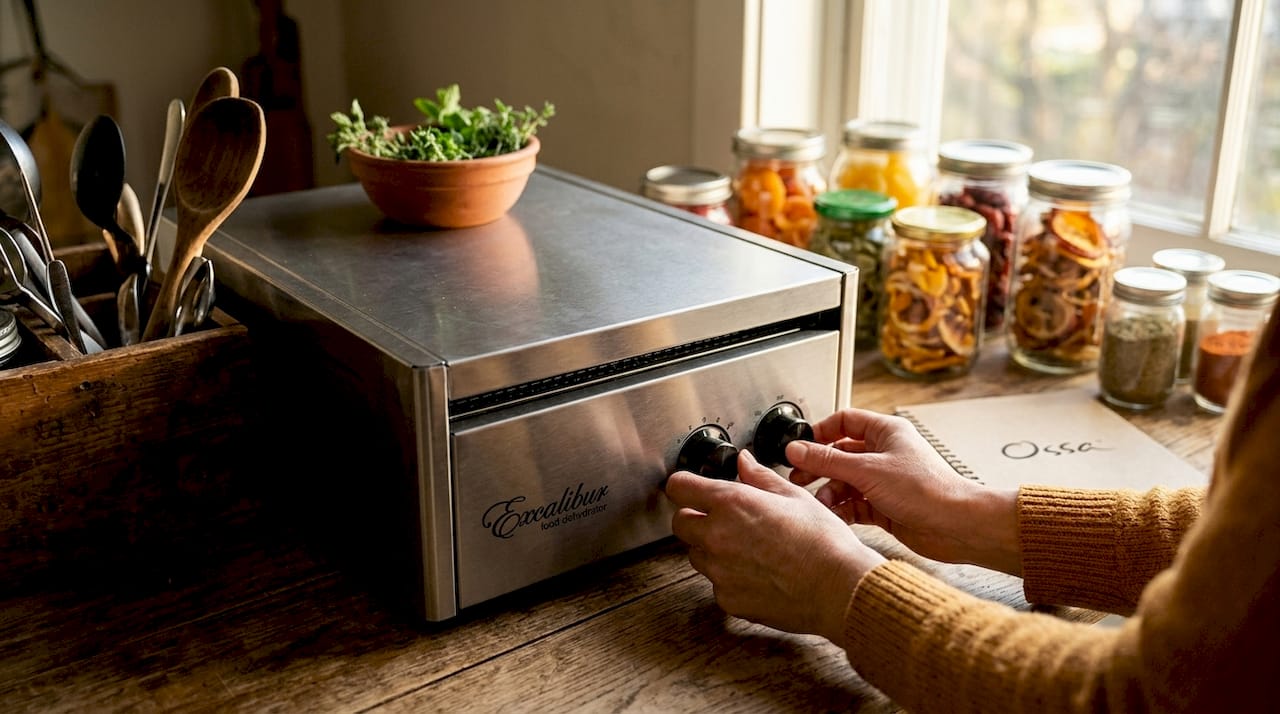
Food dehydrators such as the Excalibur 9-tray model offer the most consistent results. Temperature control and airflow are uniform across all trays, which matters when drying delicate herbs like basil alongside denser items like apple slices.
Follow these steps for drying and storing:
-
Wash produce and dry thoroughly before slicing. Uniform thickness produces even drying.
-
For fruits, a light dip in lemon juice prevents browning.
-
Set your dehydrator or oven to the correct temperature for the produce type. Herbs dry at 35–40°C; fruits and vegetables at 55–70°C.
-
Check regularly. Produce is ready when it feels leathery with no soft spots.
-
Allow dried items to cool completely before storing.
-
Store in airtight glass jars, away from heat and light.
Pro Tip: Store dried herbs and fruits in labelled Kilner jars in a cool, dark cupboard rather than on an open shelf above the hob. Heat and light degrade both flavour and nutritional content faster than most people expect.
Preserving fresh herbs through drying is one of the highest-return preservation tasks in the kitchen. A single bunch of fresh basil from the market, dried and stored correctly, provides months of flavour at a fraction of the cost of buying dried herbs commercially.
How to safely can organic seasonal produce for long-term storage
Canning produces shelf-stable results that require no refrigeration or freezer space. The method you use depends entirely on the acidity of the produce you are working with.
| Method | Best For | Equipment Needed | Processing Temperature |
|---|---|---|---|
| Water-bath canning | High-acid foods: jams, pickles, tomatoes, fruit | Large stockpot, mason jars, rack | 100°C (boiling) |
| Pressure canning | Low-acid foods: green beans, carrots, meat | Pressure canner (Presto, All American) | 116°C (15 PSI) |
Water-bath canning is the entry point for most home canners. It suits seasonal fruit pickling, jams, chutneys, and tomato sauces. Pressure canning is non-negotiable for low-acid vegetables. Botulism spores survive boiling water but are destroyed at the higher temperatures a pressure canner achieves. This distinction is not optional.
Preparing produce for canning follows a consistent process. Sterilise jars in boiling water for 10 minutes. Prepare your recipe, whether a jam, whole fruit pack, or sauce. Fill jars leaving the correct headspace (typically 1–2 cm). Wipe jar rims clean before fitting lids. Process in the canner for the time specified in tested recipes from sources such as the USDA Complete Guide to Home Canning or the Ball Blue Book.
Always use new sealing lids each season. Reusing lids risks failed seals and contamination. The lid itself is the cheapest component in the entire process. Do not economise on it.
After processing, allow jars to cool undisturbed for 12–24 hours. Test the seal by pressing the centre of each lid. A properly sealed lid will not flex. Any jar that fails the seal test must go into the refrigerator and be used within a week.
Pro Tip: Process times in canning recipes are calibrated for specific altitudes. If you live above 300 metres, increase processing times according to USDA altitude adjustment tables. Ignoring this is one of the most common canning errors in the UK.
The best methods for canning organic produce include whole tomatoes, stone fruit jams, apple butter, pickled cucumbers, and fermented hot sauces. Each of these stores well for 12–18 months when sealed correctly.
What are the benefits of fermentation and quick pickling?
Fermentation is the one preservation method that actively improves the nutritional profile of produce rather than simply maintaining it. Fermentation increases nutrient bioavailability and retains vitamins better than high-heat methods like canning or freezing. The probiotic activity generated during lacto-fermentation supports gut health in ways that no other preservation technique replicates.
Classic fermented products include sauerkraut (fermented white cabbage), kimchi (fermented brassicas and chilli), and fermented cucumbers. All three require only salt, water, and time.
Basic fermentation steps:
-
Shred or slice your produce finely and uniformly.
-
Weigh the produce and add 2% of its weight in non-iodised salt. Iodised salt inhibits fermentation.
-
Massage or mix until the produce releases its own liquid brine.
-
Pack tightly into a clean mason jar, pressing down so the brine covers the produce completely.
-
Cover loosely (not airtight) and leave at room temperature for 3–7 days, tasting daily.
-
Once the flavour suits you, seal and refrigerate. Fermented produce keeps for several months.
Quick pickling is a faster alternative that does not produce probiotic benefits but delivers excellent flavour and crunch. Combine equal parts white wine vinegar and water with a small amount of sugar and salt, bring to a simmer, and pour over sliced vegetables in a jar. Pickled red onions, radishes, and cucumbers are ready within an hour and keep refrigerated for 2–3 weeks.
The contrast between the two methods is clear. Fermentation builds nutritional value over days and keeps for months. Quick pickling delivers instant results but is a short-term storage solution. For organic produce preservation with maximum health benefit, fermentation is the stronger choice.
Pro Tip: Keep fermentation jars away from direct sunlight and check daily that produce remains submerged below the brine. Exposed produce above the liquid will develop mould, not beneficial bacteria.
Key takeaways
The most effective approach to preserving organic seasonal produce combines blanching and flash freezing for vegetables, dehydration for herbs and fruits, water-bath or pressure canning for shelf-stable goods, and fermentation for maximum nutritional benefit.
| Point | Details |
|---|---|
| Blanch before freezing | Use exact times: broccoli 3 mins, green beans 2 mins, spinach 90 seconds. |
| Flash freeze to prevent clumping | Spread produce in a single layer on trays for 1–2 hours before bagging. |
| Match canning method to acidity | Use water-bath for high-acid foods; pressure canning for low-acid vegetables. |
| Fermentation adds nutritional value | Lacto-fermentation increases bioavailability and produces beneficial probiotics. |
| Label everything with dates | Dissolvable freezer labels remove cleanly and make stock rotation straightforward. |
What ossa organic has learned about preserving seasonal produce
The single habit that changed how we approach preservation at Ossa Organic is the ten-minute rule. Sorting and treating produce immediately upon arrival prevents up to 80% of avoidable spoilage. Most people put shopping away and come back to it two days later. By then, the window for optimal preservation has often closed.
We also stopped treating preservation as one method per produce type. Courgettes get flash frozen. Tomatoes get water-bath canned into sauce. Basil gets dried. Cucumbers get fermented. Matching the method to the produce rather than defaulting to one technique across the board produces far better results in both flavour and longevity.
Record keeping is not optional. A simple notebook or a labelled jar system tells you what you have, when it was processed, and when to use it. Without that, you end up with unidentified bags in the freezer and jars you are afraid to open. Leafy greens stored dry with paper towels last 4–7 days before preservation, which gives you a short but workable window to act.
One thing conventional guides rarely say: do not try to master every method in one season. Start with freezing. Add drying in the second season. Introduce canning when you are confident with the basics. Fermentation rewards patience and attention, and it is worth waiting until you have the headspace to monitor it properly. Rushing fermentation without understanding the process is how people end up with mouldy jars and put themselves off the technique entirely.
The goal at Ossa Organic has always been food that nourishes without compromise. Preserved organic produce, handled with care and the right technique, delivers exactly that.
— Ossa Organic
Make the most of your preserved produce with ossa organic
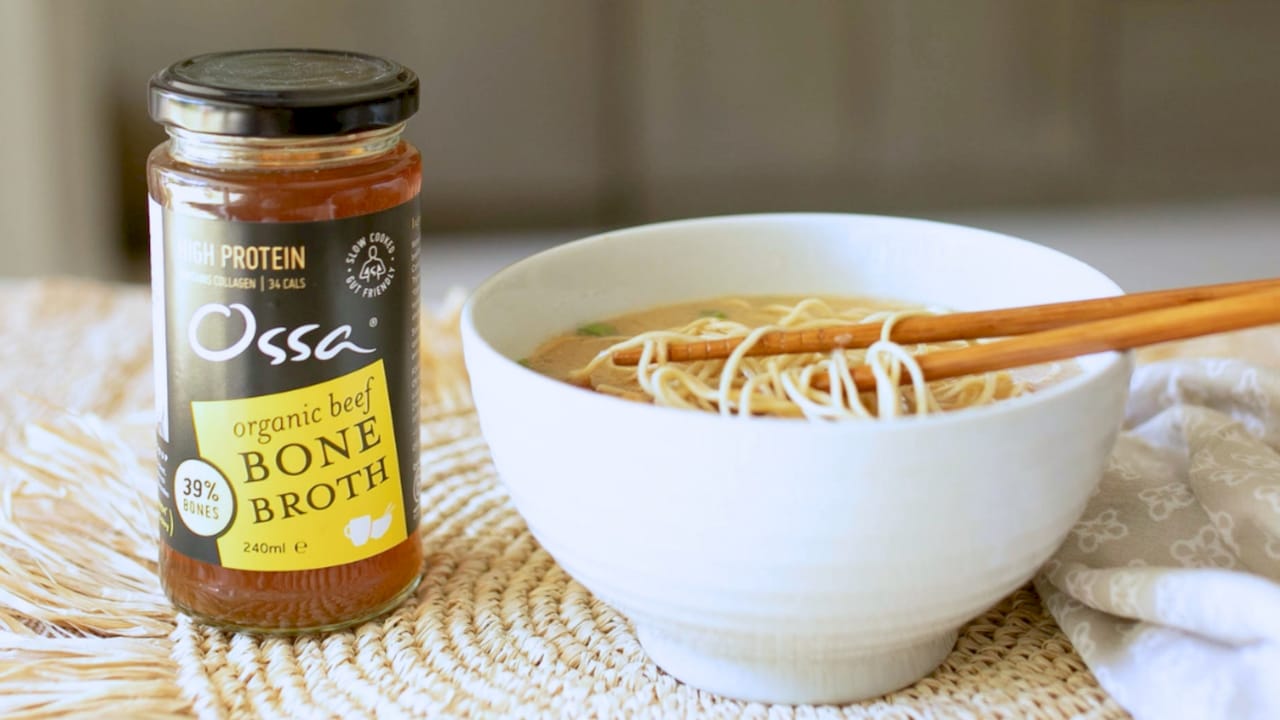
Once your shelves and freezer are stocked with preserved seasonal produce, the next step is putting it to use in genuinely nourishing meals. Ossa Organic’s recipe inspiration covers a wide range of dishes that pair preserved vegetables and fruits with whole-food ingredients. Ossa Organic’s bone broths and organic vegetable broth boost work particularly well with frozen or fermented vegetables, turning a simple preserved ingredient into a gut-supporting meal. Visit the how-to-use guide for practical guidance on incorporating Ossa Organic products into your daily cooking alongside your home-preserved stores.
FAQ
What is the safest way to freeze organic vegetables at home?
Blanch vegetables first to stop enzyme activity, then flash freeze in a single layer before bagging. Store at 0°F (minus 18°C) for a shelf life of 8–12 months.
Do organic fruits need different preservation methods than conventional produce?
The methods are the same, but organic produce often has a shorter shelf life before preservation because it contains no synthetic post-harvest treatments. Treat it quickly after purchase for best results.
Is fermentation safe for home use?
Lacto-fermentation is safe when produce stays fully submerged below the brine and non-iodised salt is used at the correct ratio. Monitor daily and refrigerate once the desired flavour is reached.
What is the difference between water-bath and pressure canning?
Water-bath canning reaches 100°C and is suitable for high-acid foods such as jams and pickles. Pressure canning reaches 116°C and is required for low-acid vegetables to eliminate botulism risk.
How long do home-dried herbs stay fresh?
Properly dried herbs stored in airtight glass jars in a cool, dark cupboard retain good flavour for 12–18 months. After that, potency declines but the herbs remain safe to use.


