Organic ingredients
•
Naturally nourishing
•
Made with care
We've sent you an email with a link to update your password.
Reset your password
We will send you an email to reset your password.
30 Min Collagen Broth: Pressure Cooker or Slow Cooker for UK Cooks
Ralph Barrozo
0 comments
Use a pressure cooker when you need a good, collagen-rich broth fast; use a slow cooker or a long simmer when you want the deepest flavour and a bigger batch. A pressure cooker typically needs a few hours for chicken bones and several hours for beef, while a slow cooker runs half a day or more. The method sections below walk through both, step by step.
TL;DR:
Keep bones, vegetables, and water below the pressure cooker’s marked maximum line; parboiling bones for five minutes first helps remove impurities that cloud broth.
A controlled chicken stock study found that 10 to 30 minutes at 115°C to 120°C matched collagen and protein extraction from much longer cooking at normal pressure.
Flavour compounds and free amino acids tend to peak after 4 to 7 hours of atmospheric simmering, while minerals continue rising during longer cooks.
Use pressure cooked broth for quick ramen, slow cooked broth for sipping or freezer batches, and reduce either strained broth for sauces.
Ossa Organic
Choose Slow-Cooked, Organic Broth
Ossa Organic makes bone broths using organic ingredients and slow cooking, offering a nourishing option when you want broth without making it yourself.
Pressure cooker or slow cooker: a side-by-side comparison
The choice comes down to four things: how much time you have, how many bones you are working with, how much broth you want, and what you plan to do with it.
Time is the clearest divide. A pressure cooker forces water above its normal boiling point, so it pushes collagen out of bones far faster than an open pot ever could. A slow cooker sits around 77°C to 88°C and relies on patience rather than pressure to get the same job done.
Batch size works the other way. Most pressure cookers hold 6 to 8 litres and come with a maximum fill line, usually around two thirds full once you include bones, vegetables and water. Slow cookers tolerate a fuller load and come in larger sizes, which suits anyone roasting a whole chicken carcass or saving several beef bones from a Sunday joint.
Energy use and hands-off time matter too. A slow cooker left running overnight uses a small, steady amount of power over many hours. A pressure cooker uses more power in short bursts but for a much shorter total stretch, so total energy use often ends up lower for a single batch.
Here is how the two methods stack up on the factors that matter most to a home cook:
Typical cooking time: pressure cooker 2 to 4 hours; slow cooker 12 to 24+ hours.
Gelatin extraction: pressure cooker reaches high extraction quickly; slow cooker reaches similar or greater extraction given enough time.
Flavour and aroma: pressure cooker retains more volatile aromatics because it is sealed; slow cooker develops deeper, more rounded flavour through long, open simmering.
Clarity and mouthfeel: pressure cooker broth can turn slightly cloudier if boiled too hard; slow cooker broth stays clearer with a gentle simmer.
Batch size: pressure cooker limited by a maximum fill line; slow cooker handles larger volumes.
Hands-off convenience: both are largely unattended, though a pressure cooker needs a brief watch during pressure release.
Energy use: pressure cooker uses more power over a short burst; slow cooker uses less power but for many more hours.
Neither method is wrong. A weeknight cook after work benefits from the pressure cooker’s speed. A weekend batch destined for the freezer suits the slow cooker’s unattended simmer, and if you want to compare notes on a tested slow-cooker recipe, it covers the timings we use ourselves.
What the evidence says about extraction, gelatin and time
Bone broth gets its body from gelatin, which forms when collagen in bones, skin and connective tissue breaks down in hot water. That breakdown is driven by heat and time, and pressure changes the equation by raising the temperature water can reach without boiling away.
Research comparing the two approaches has found that pressure cooking at around 120°C can reach a high proportion of soluble collagen within 30 to 120 minutes, compared with 4 to 18 or more hours needed at a standard 100°C simmer. A controlled food-science study on chicken-bone stock found that high-pressure cooking at 115°C to 120°C for just 10 to 30 minutes produced collagen and protein extract levels similar to much longer cooks at normal pressure, though the study also noted that overall palatability did not always improve under pressure, meaning flavour and extraction do not always move in lockstep.
A pressure cooker can match hours of atmospheric simmering in as little as 30 minutes at high pressure, which explains why so many home cooks reach for one when time is tight.
Flavour compounds behave differently from collagen. Studies measuring proteins, free amino acids and volatile flavour compounds in bone soup report that these compounds tend to peak around 4 to 7 hours of atmospheric simmering, after which some begin to decline even as cooking continues. Minerals behave differently again: they tend to keep increasing the longer the broth simmers, which is part of why very long slow-cooker batches are prized for mineral content even once protein extraction has levelled off.
This gives a rough map of where each method sits:
Cooking approach
Approximate time
What tends to peak
High-pressure cooking (115 to 120°C)
10 to 30 minutes
Collagen and protein extract reach levels similar to much longer atmospheric cooks
Pressure cooking (around 120°C)
30 to 120 minutes
High proportion of soluble collagen
Atmospheric simmer (100°C)
4 to 8 hours
Flavour compounds and free amino acids, before some begin to decline
Atmospheric simmer (100°C)
Beyond 8 hours, up to 24+
Minerals continue to rise; gelatin content stays high
Nutrition in a finished broth varies with the bones used, the cooking time and how much salt goes in, but a typical cup carries roughly 8 to 10 grams of protein and around 50 to 80 calories, most of that protein coming from gelatin rather than intact collagen. We would be cautious about any claim that bone broth cures or treats a specific condition. The research here supports better extraction and more body in the broth, not a therapeutic promise, and readers wanting a deeper look at what collagen actually does once it is in the pot can find more detail in our piece on whether bone broth contains collagen.
How to make bone broth in a pressure cooker
A pressure cooker rewards a little prep work, and skipping the early steps is the main reason home cooks end up with a cloudy or flat-tasting result.
Roast raw bones at around 200°C for 30 to 40 minutes if you want a deeper, more savoury broth, or skip this step for a lighter, cleaner flavour.
Parboil the bones for 5 minutes in a separate pot of water, then discard that water. This removes surface impurities and blood that would otherwise cloud the broth.
Place the bones in the pressure cooker with aromatics such as onion, carrot, celery and a splash of vinegar, which helps draw minerals out of the bone.
Add water to just below the maximum fill line, keeping the ratio roughly 1 part bones to 2 to 3 parts water.
Seal the lid and cook chicken bones at high pressure for 45 minutes to 1 hour, or beef bones for 90 minutes to 2 hours, allowing a longer cook if you are using larger marrow bones.
Let the pressure release naturally for at least 20 minutes before opening, rather than forcing a quick release, which can push hot liquid and foam towards the valve.
Strain through a fine sieve or muslin cloth, season with salt only at this final stage, and skim any surface fat once the broth has cooled slightly.
Pro Tip:If your broth foams during cooking, add a small knob of butter or a splash of vinegar to the pot before sealing, since this helps settle foam that might otherwise clog the pressure valve.
Never fill a pressure cooker past its marked maximum line. Bones, vegetables and water expand and release foam as they heat, and overfilling is the most common cause of a blocked valve or a messy release. Once the broth is done, cool it quickly by ladling it into shallow containers rather than leaving a large hot pot to cool on the counter, then refrigerate within one to two hours and portion into the sizes you are likely to use, since smaller portions chill faster and thaw more conveniently later.
How to make bone broth in a slow cooker or on a low simmer
A slow cooker suits anyone who wants to set a pot going and forget about it for most of a day, and it is the method we lean on for the depth of flavour that only comes with time.
Roast the bones first at around 200°C for 30 to 40 minutes, since the extra time in a slow cooker makes this step worth the effort for richer flavour.
Transfer the roasted bones to the slow cooker along with onion, carrot, celery, bay leaves and a splash of apple cider vinegar.
Add water to cover the bones by a few centimetres, keeping the same rough ratio of 1 part bones to 2 to 3 parts water.
Set the slow cooker to low, which typically holds the liquid between 77°C and 88°C, and leave it to cook for 12 to 24 hours, extending to as long as 48 hours for very large beef bones.
Skim any foam that rises in the first hour or two, then leave the lid on and resist stirring, since a gentle, undisturbed simmer keeps the broth clearer.
Add fresh herbs or extra vegetables in the final 1 to 2 hours if you want brighter top notes, since long-cooked aromatics lose some of their fresh character.
Strain the finished broth, season with salt once strained, and chill it. A properly extracted broth sets into a soft, jelly-like consistency once fully cooled, which is a reliable sign of good gelatin content.
Pro Tip:Leaving a slow cooker running overnight is widely considered safe, since it holds a steady low temperature throughout, but place it on a heatproof surface away from the counter edge and keep the lid on to maintain that temperature.
Slow cookers use comparatively little power per hour, so an overnight or all-day batch often costs less to run than its long duration might suggest. Once finished, cool the broth the same way as above: shallow containers, a quick trip to the fridge within one to two hours, and clear labelling on anything bound for the freezer. For a full written version of this method with exact quantities, our slow-cooker bone broth guide walks through the recipe we use at home.
Matching the method to what you plan to cook
The right method depends less on which is “better” and more on what you are making. A quick ramen broth wants body and savoury depth without six hours of waiting, so a pressure cooker gets you there before dinner. A slow-reduced sauce or a sipping broth benefits from the rounder, more developed flavour that comes from a long, gentle simmer.
Aroma behaves differently in each system. A pressure cooker is sealed, so volatile aromatic compounds stay trapped in the liquid rather than evaporating into the kitchen, which can give a punchier, more concentrated smell and taste once you open the lid. A slow cooker, left uncovered in spirit even with a lid on, loses some of those lighter aromatics over many hours but builds deeper savoury notes through prolonged, gentle heat, similar to how a slow-roasted dish develops flavour that a quick sear cannot match.
Quick weeknight ramen or noodle soup: pressure cooker, for a fast, well-bodied broth in under an hour.
Sipping broth or a wellness drink: slow cooker, for the rounder, more developed flavour a long simmer builds.
Sauce reductions and gravies: either method works, but reduce the strained broth afterwards on the hob to concentrate flavour further.
Large batches for freezing: slow cooker, since its bigger capacity suits cooking several days’ worth at once.
Whichever method you choose, a final reduction on the hob after straining concentrates both flavour and body, which is particularly useful if you are turning broth into a sauce base rather than drinking it on its own. For ideas on putting the finished broth to use, our collection of bone broth recipes covers soups, risottos and braises built around it. If you are adding vegetables to boost the nutritional profile of a finished dish, a resource like Cibo’s broccoli nutrient page is a useful reference for macro estimates when you are building out a fuller meal around the broth.
Chilling, storing and reheating bone broth safely
Cooling a large pot of hot broth safely takes a bit more thought than cooling a normal meal, simply because of the volume involved.
Cool the broth at room temperature only briefly, then get it into the fridge within one to two hours of cooking finishing.
Strain the broth into shallow containers or divide it into smaller portions before chilling, since a large hot volume takes far too long to cool evenly in one container.
An ice bath speeds things up further: set the pot or a container of strained broth into a sink or larger bowl of ice water and stir occasionally until it feels cool to the touch.
Store chilled broth in the fridge for use within a few days, and label anything going into the freezer with the date so you know how long it has been stored.
Thaw frozen broth in the fridge rather than on the counter, and reheat it until it is piping hot all the way through before serving.
These steps follow general UK food-safety guidance on cooling and storing cooked food, which centres on speed: the faster hot food moves out of the temperature range where bacteria multiply, the safer it is to keep and reuse later.
Why we still make bone broth the slow way
Ossa Organic began from a simple discovery: bone broth made a real difference during a first pregnancy, and that experience shaped a family business built on organic ingredients and traditional slow cooking rather than shortcuts. We still believe depth of flavour and nourishment come from time, not from rushing the pot.
That belief sits alongside a practical reality: not everyone has 24 hours to let a pot simmer on a weeknight. Ready-made organic broths offer the result of a long, traditional simmer without needing to tend a stove yourself. We see it as a way to keep bone broth in daily life even on the days when cooking from scratch is not realistic, and our blog carries the recipes and background for anyone who wants to make their own alongside it.
— Ossa Organic
Try Ossa Organic’s ready-made bone broths
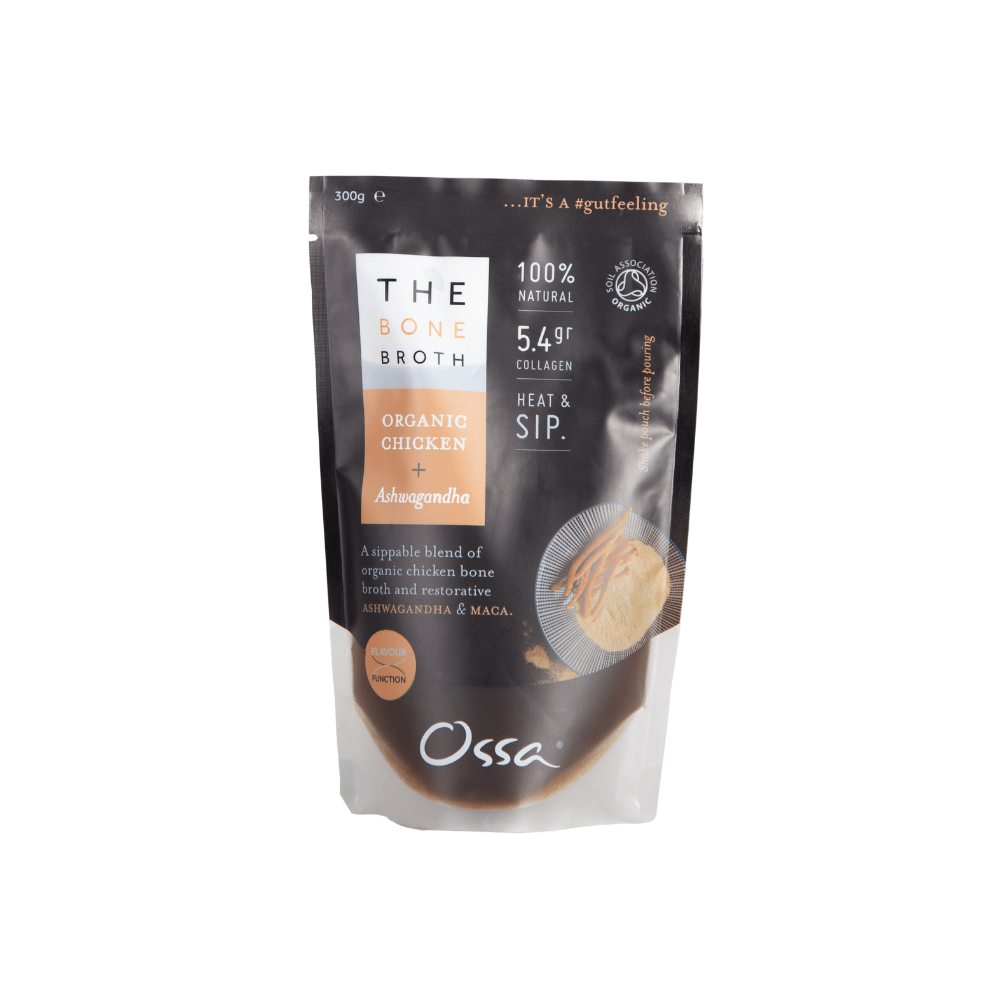
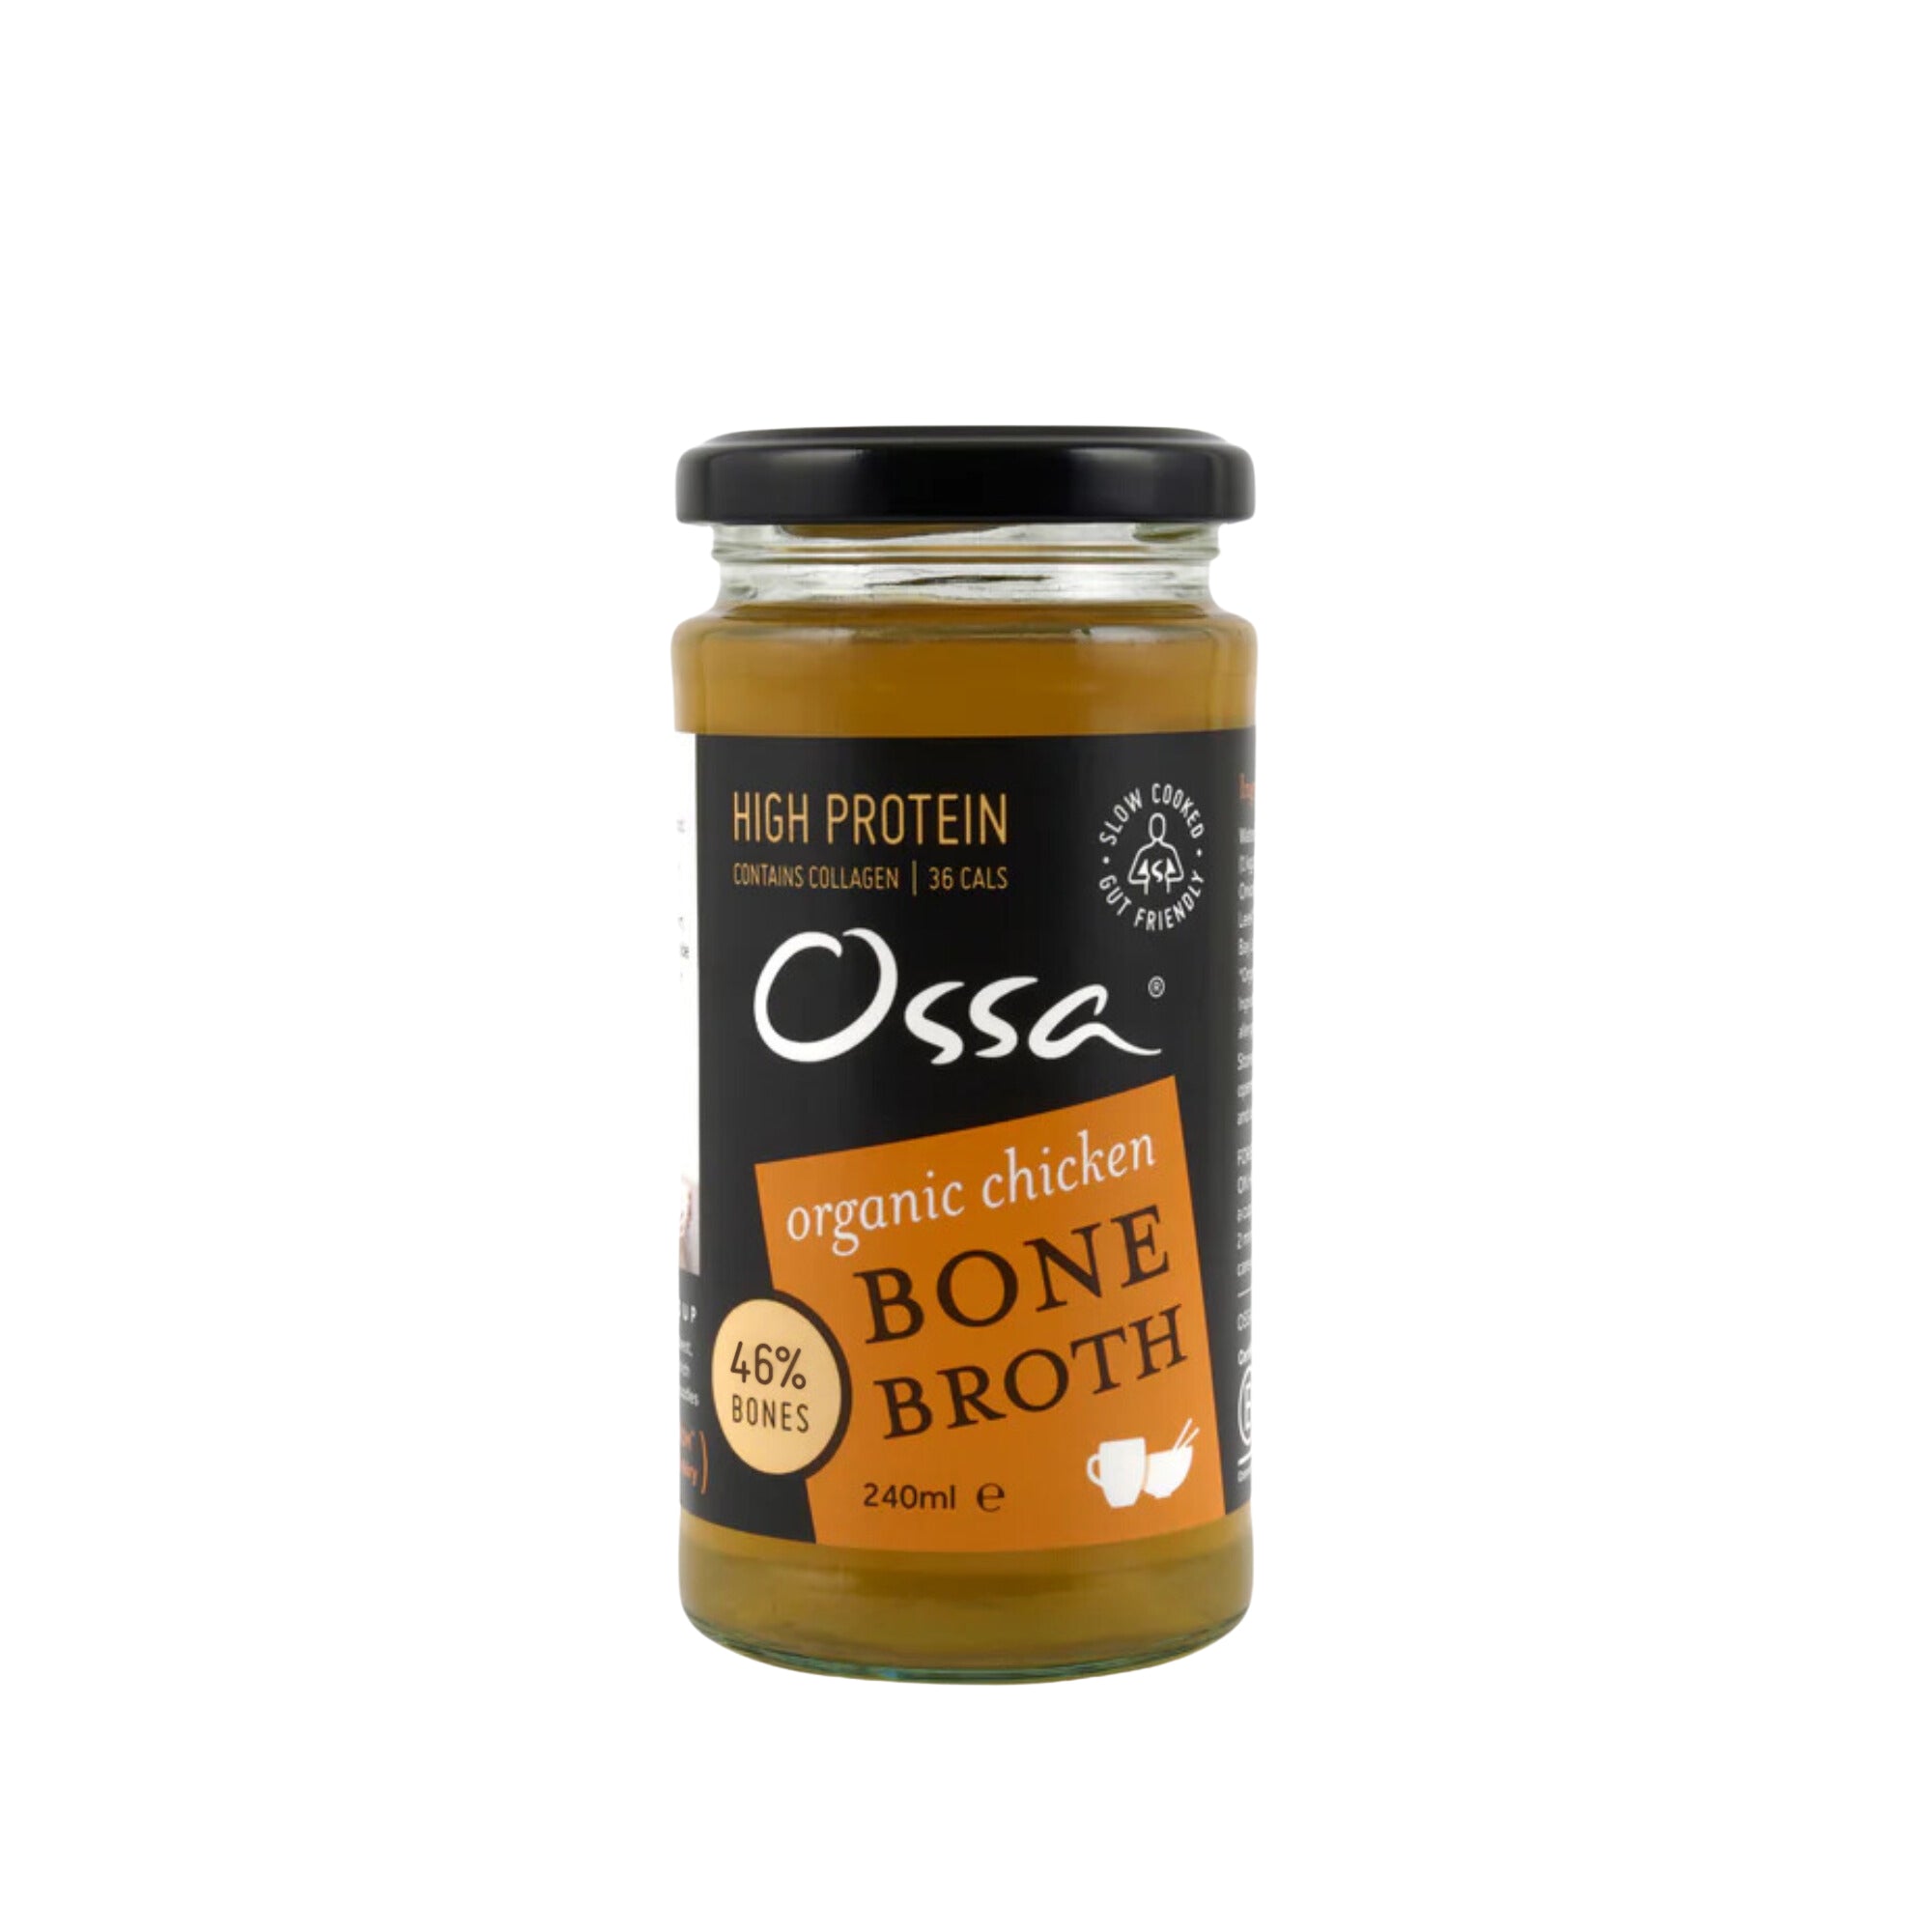
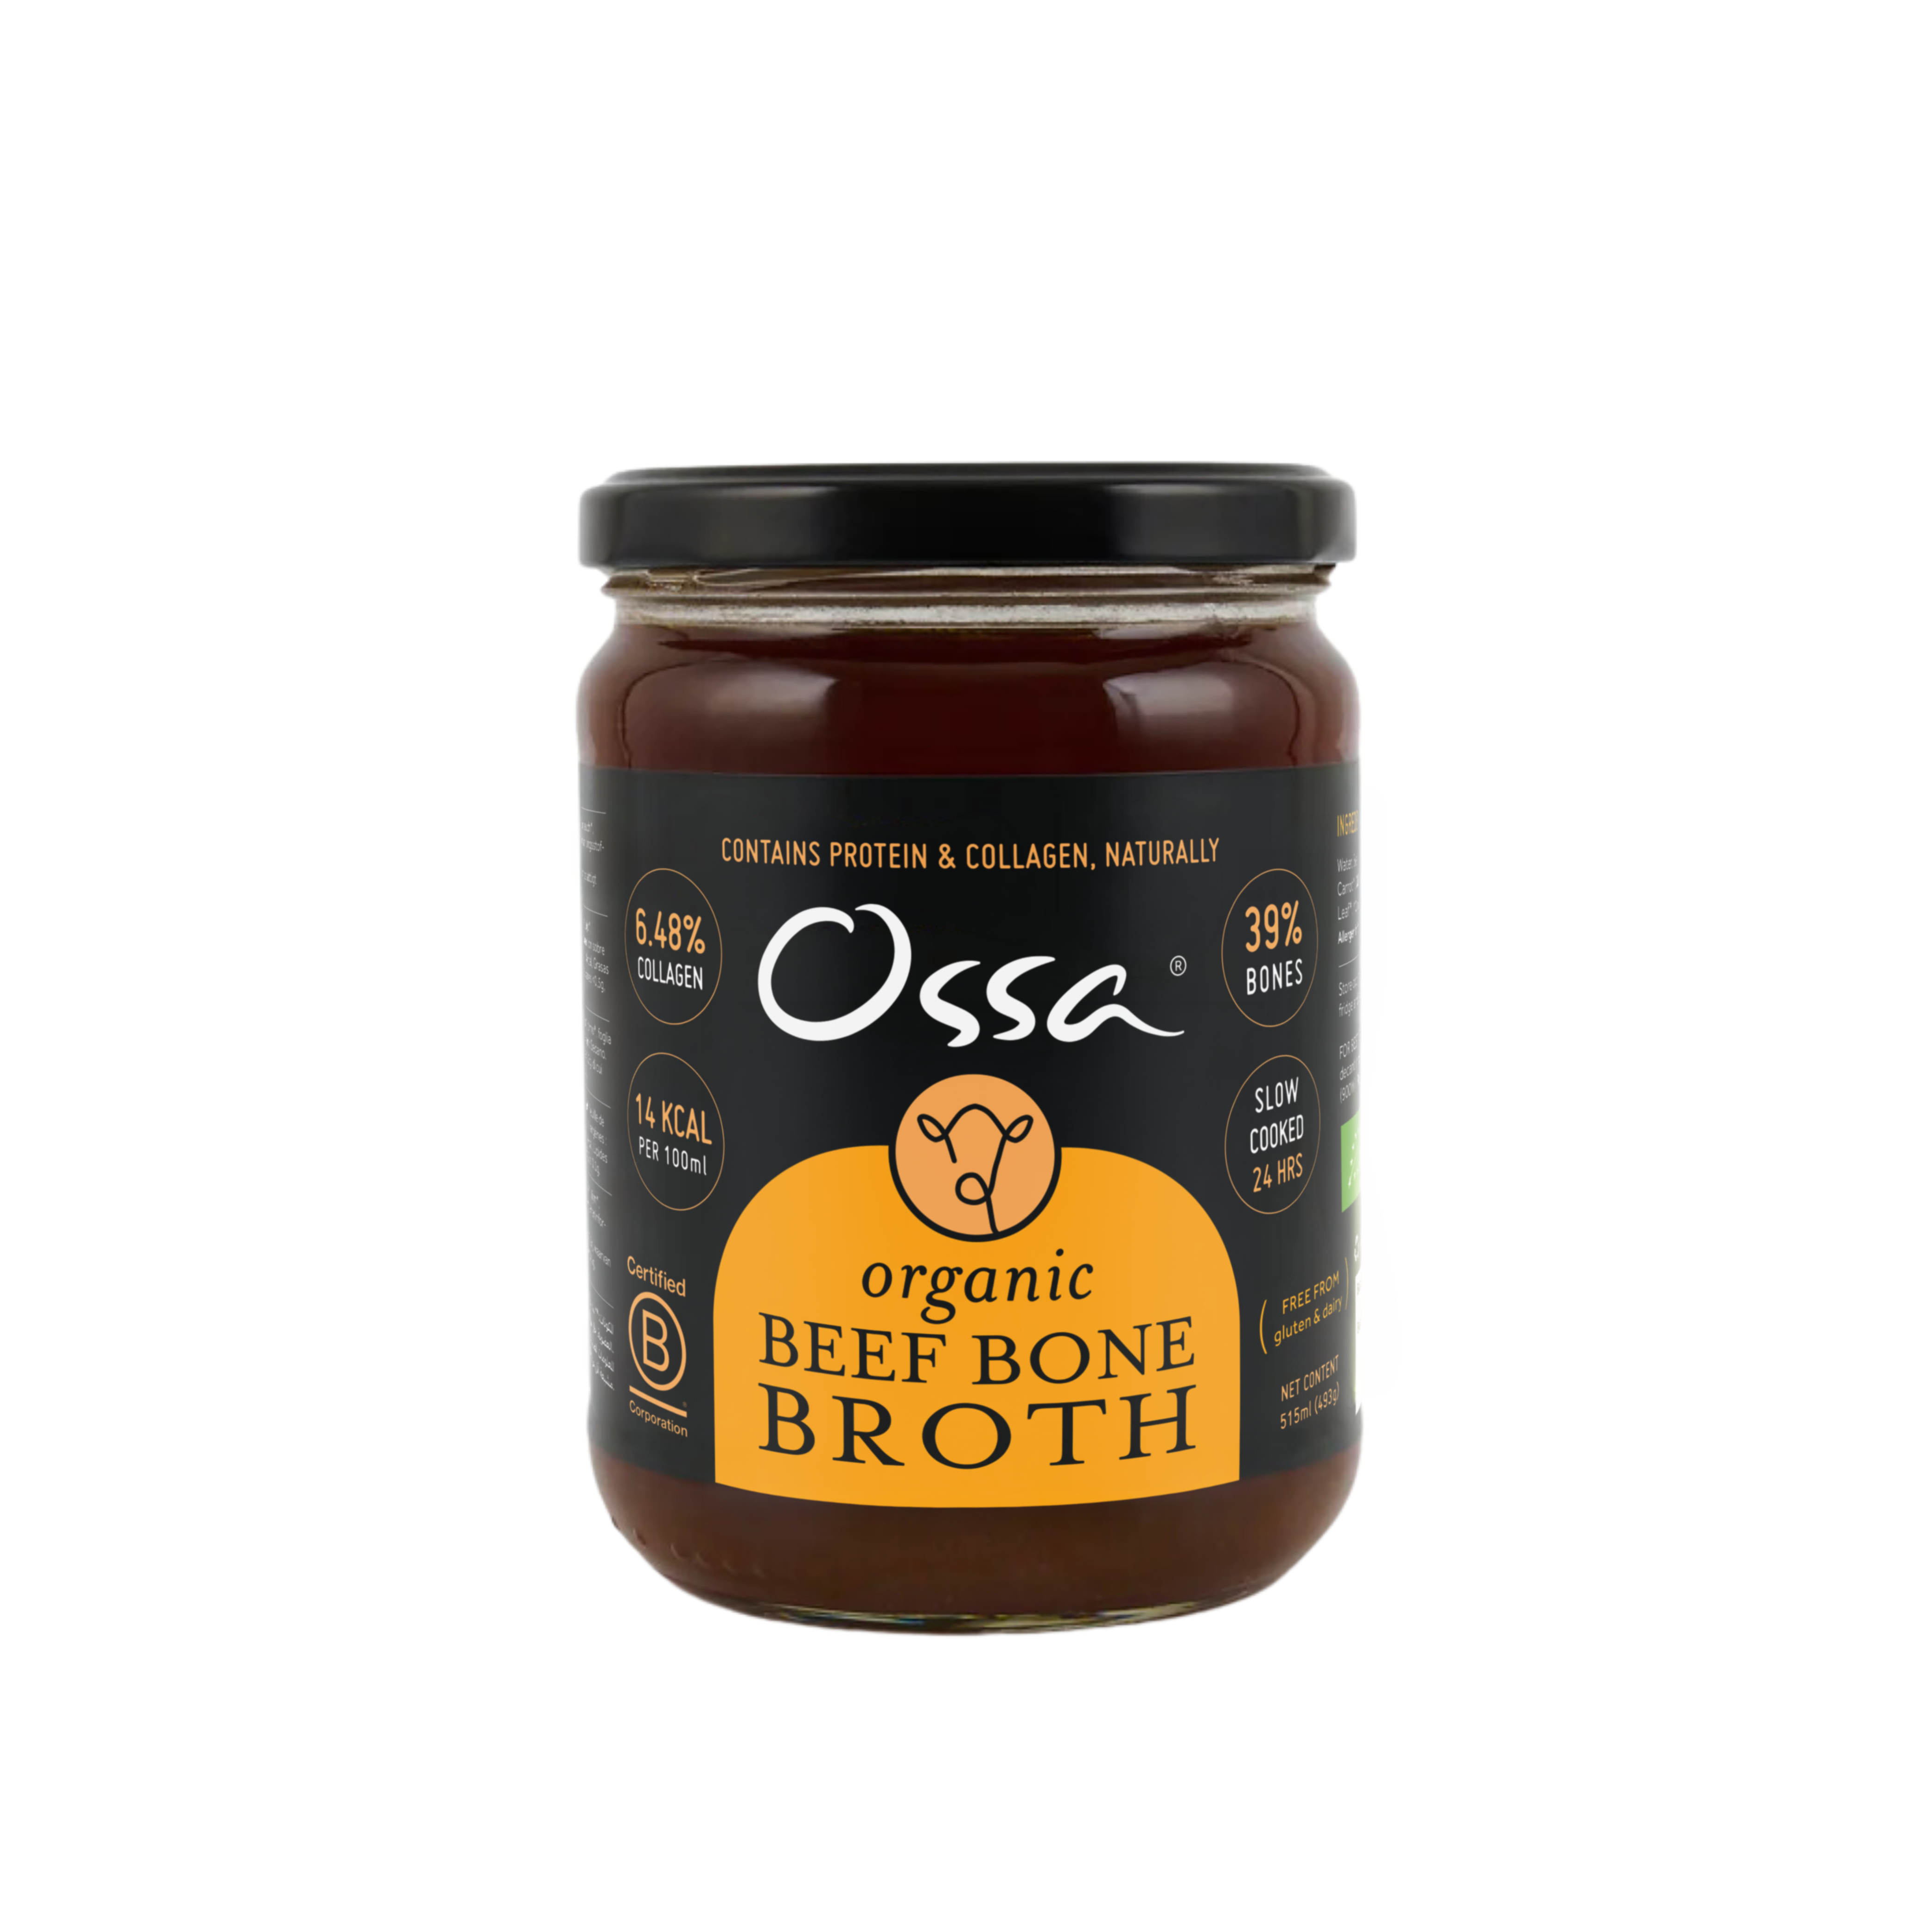
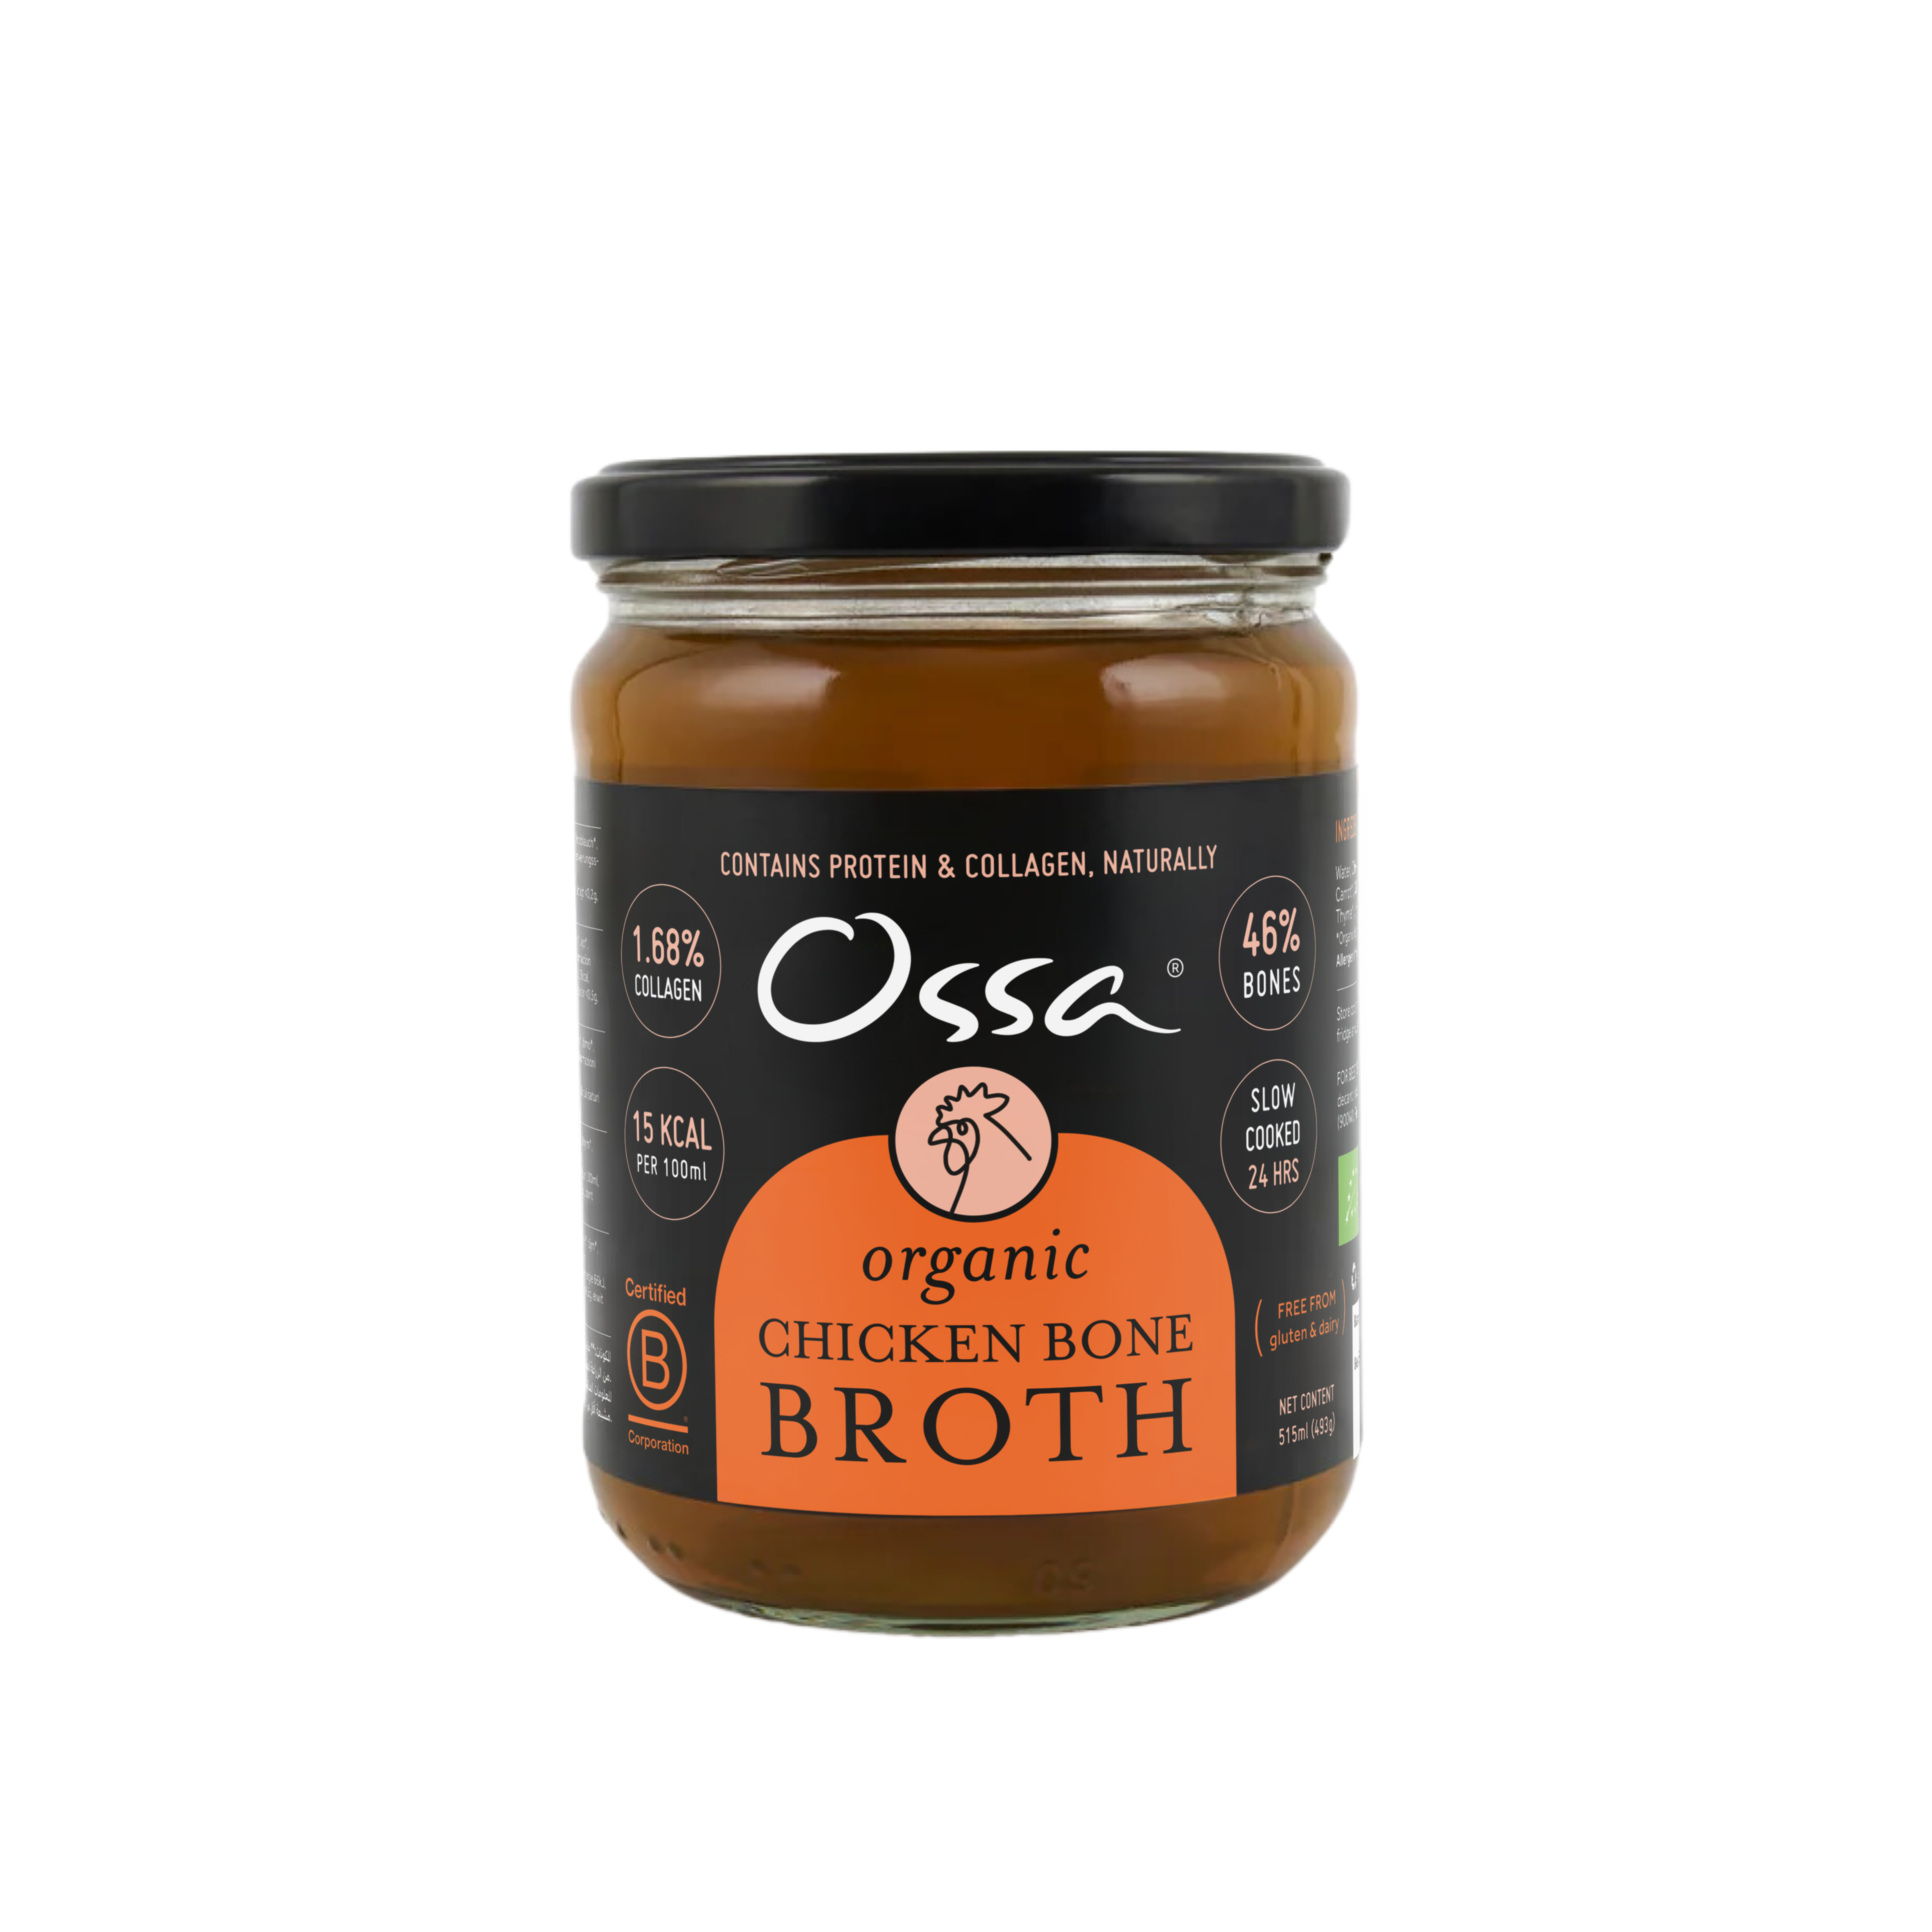
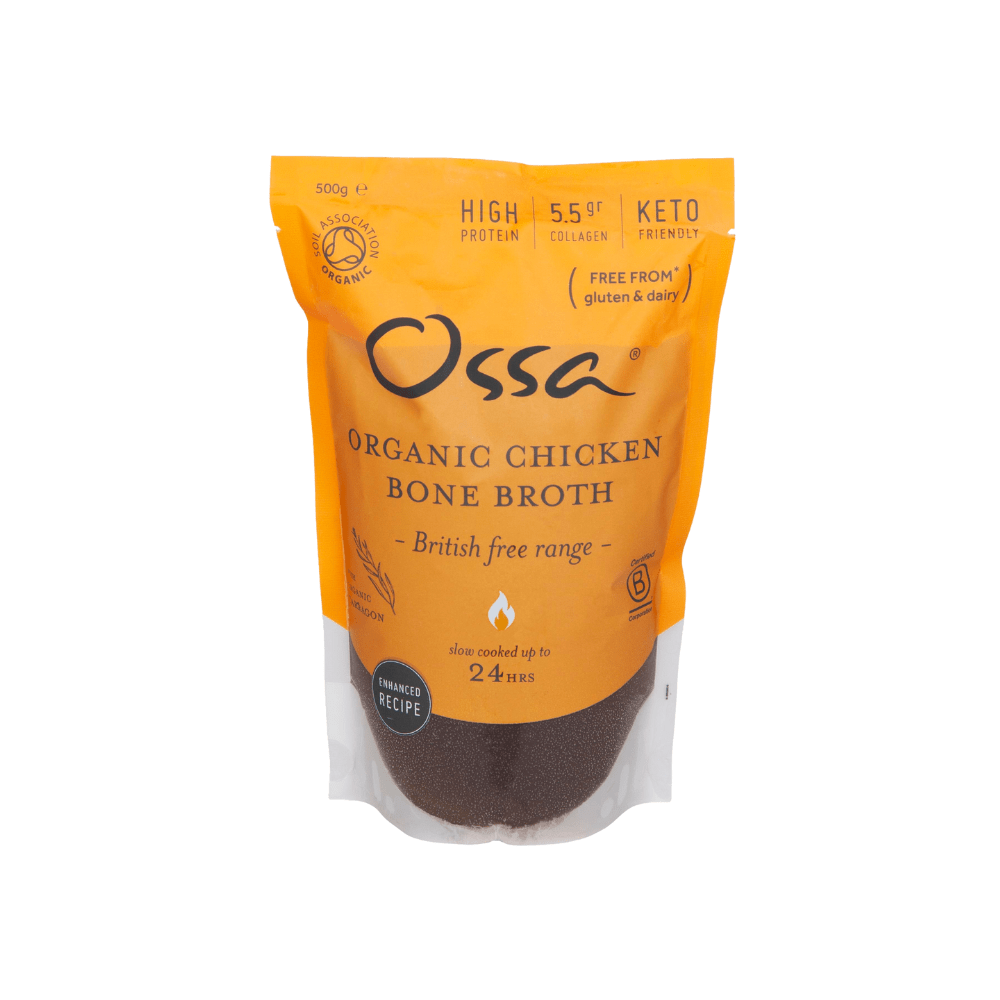
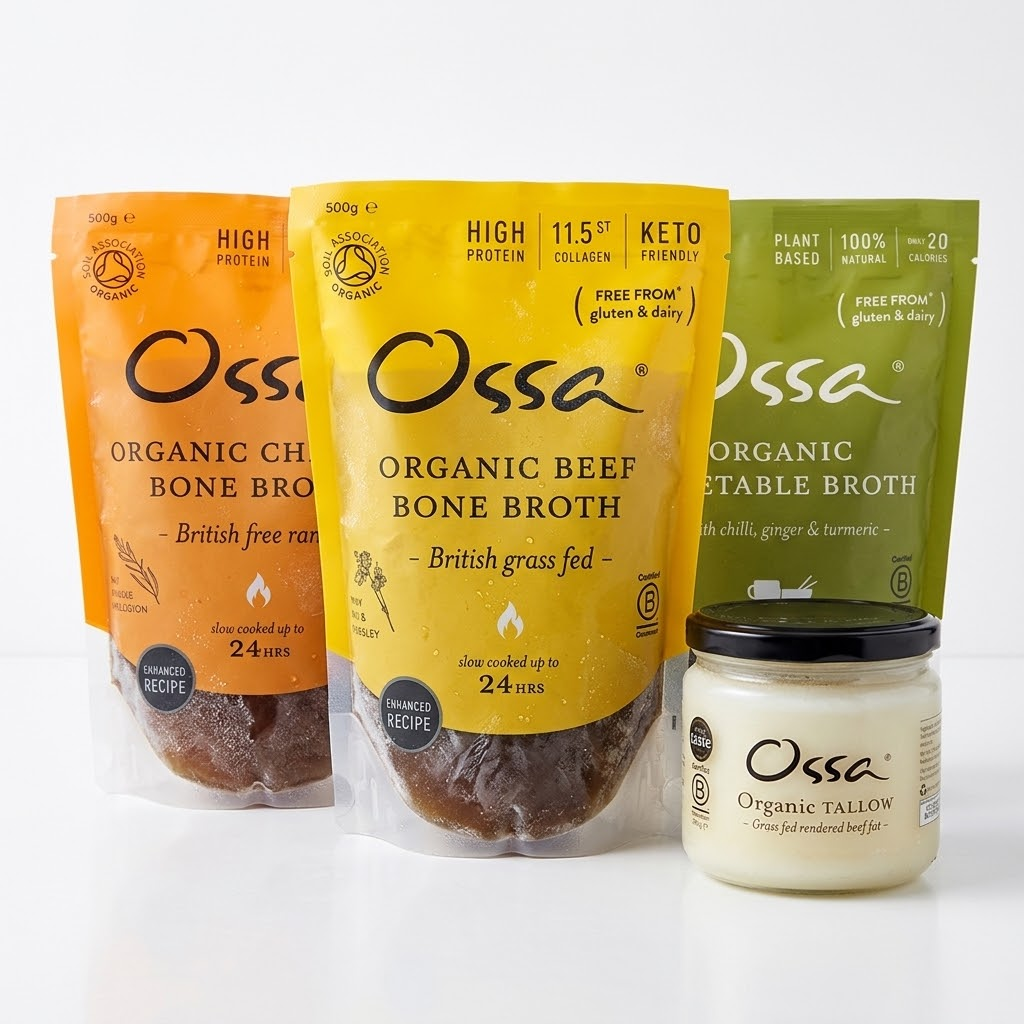
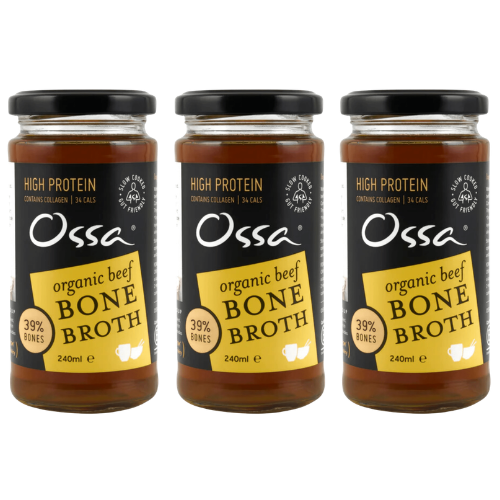
If a long simmer is not practical this week, our Organic Free Range Chicken Bone Broth 500ml is made using the same slow, traditional approach covered above, just without the hands-on time. We also offer it as 1 x Organic Chicken Bone Broth 500ml for a single-pack option, and an Organic Chicken Bone Broth Ambient 240ml format that keeps at room temperature, useful for a desk drawer or a bag on busy days.
There is no single healthiest method, since both pressure cooking and slow cooking extract gelatin, amino acids and minerals, just on different timelines. A slow simmer of 12 to 24 hours tends to maximise mineral content, while a pressure cooker reaches high collagen extraction in a fraction of that time, so the better choice depends on what you are prioritising.
Does boiling bone broth destroy collagen?
A hard, rolling boil can break the broth into a cloudier emulsion and may reduce clarity, but collagen itself converts into gelatin through heat rather than being destroyed by it. A gentle simmer, whether on the hob, in a slow cooker or under pressure, is the usual recommendation for a clearer result with good gelatin content.
Can bone broth be cooked in a pressure cooker?
Yes, and it is one of the fastest reliable methods available, with chicken bones typically needing 45 minutes to an hour at high pressure and beef bones around 90 minutes to 2 hours. Studies on pressure cooking show it can reach extraction levels similar to many hours of atmospheric simmering in a fraction of the time.
Are slow cookers good for making bone broth?
Yes, a slow cooker set to low typically holds a gentle 77°C to 88°C for 12 to 24 hours or more, which suits bone broth well and tends to produce a clearer, deeply flavoured result. It also handles larger batches than most pressure cookers, since it is not limited by a pressure-safe maximum fill line.